MENU
Skip menuInstallment 3 - Continuing to gut the interior, still.
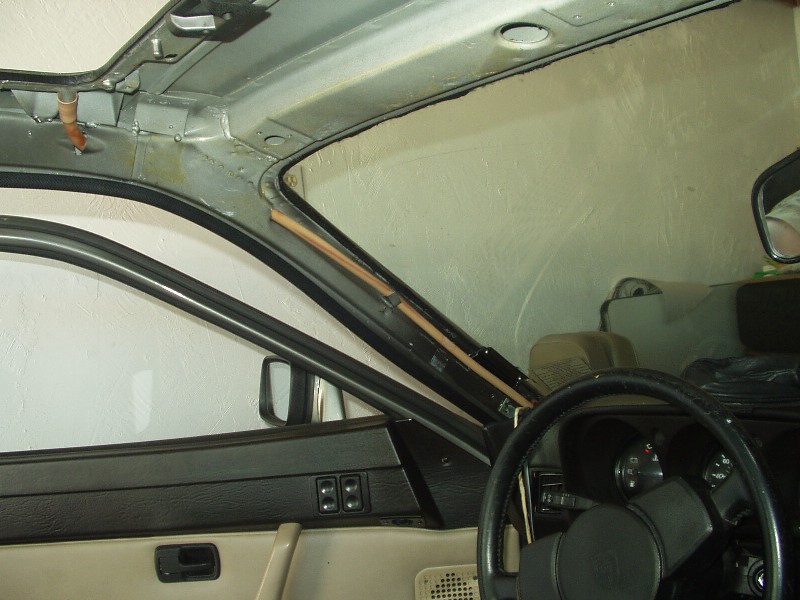
When I started removing the sunroof and related interior bits I stopped at the visors. For a few weeks I actually thought I would need them. After looking closely at a roll cage installed in a 924 I realized they would be use- less with a halo bar in the way. So off they go! I unscrewed the mounting tabs, set the visors aside and pried the interior panel off.
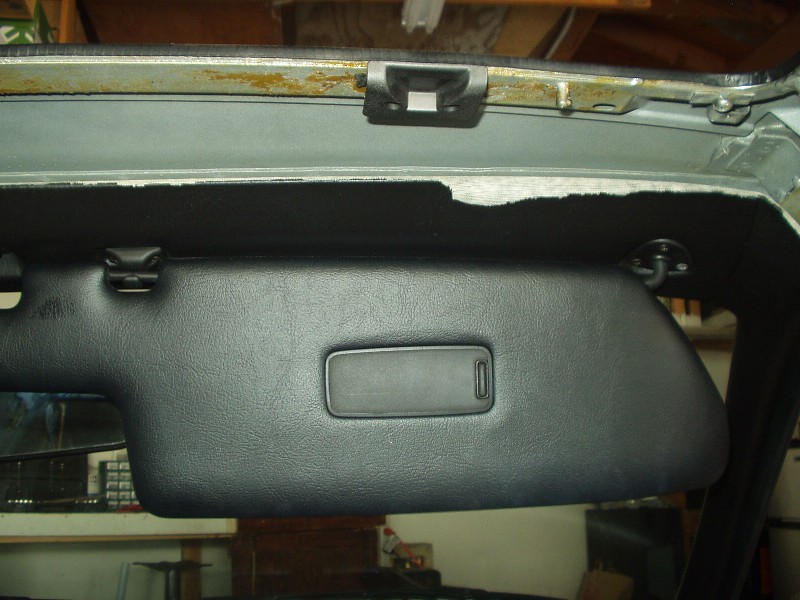
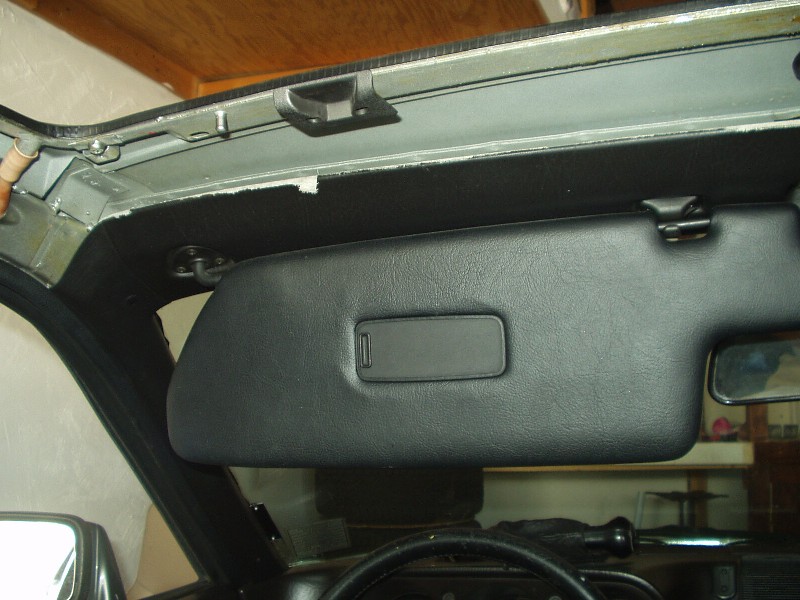
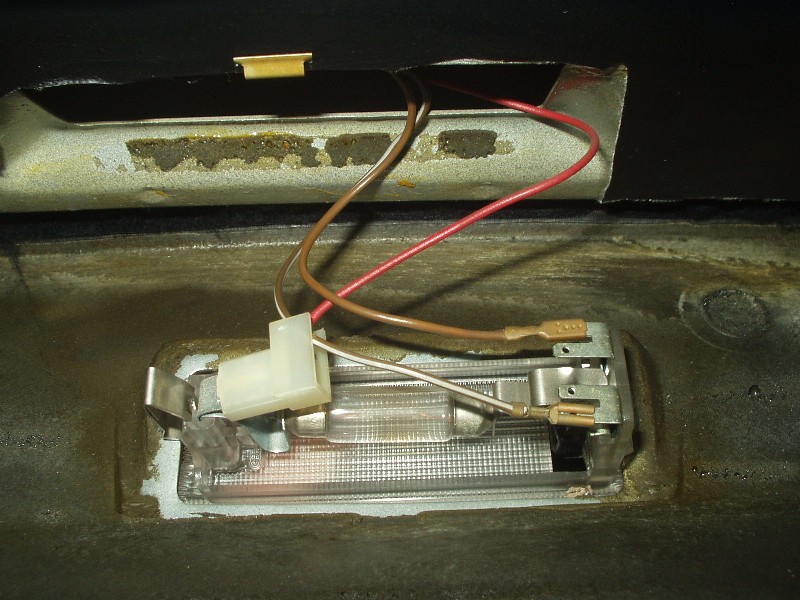
The light just pops out. As far as my screwdriver was concerned anyway.
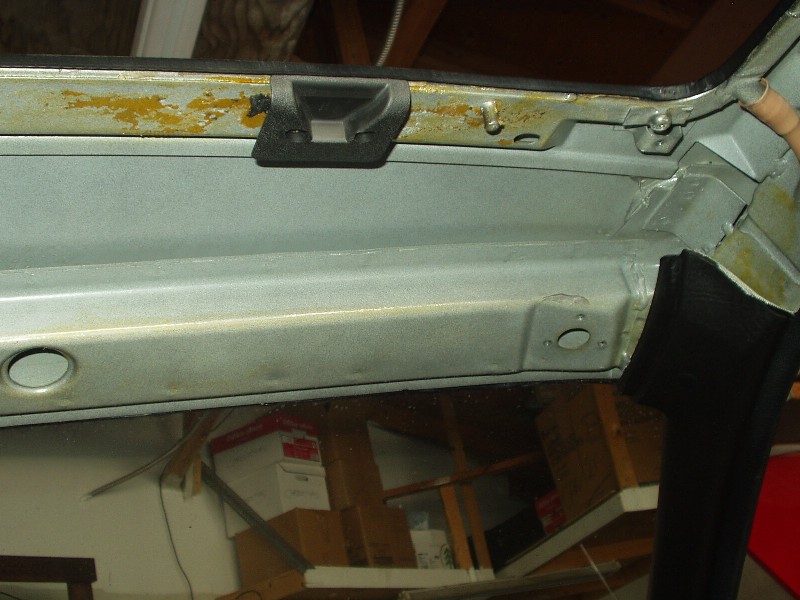
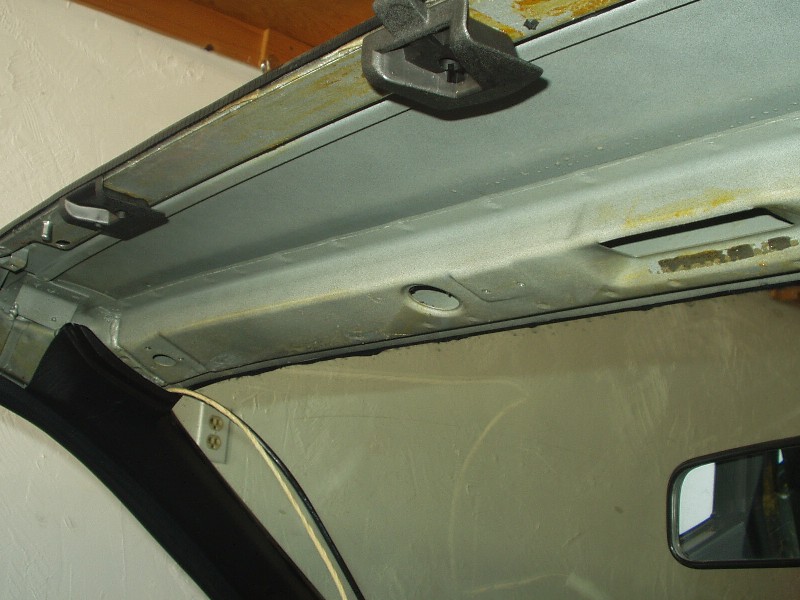
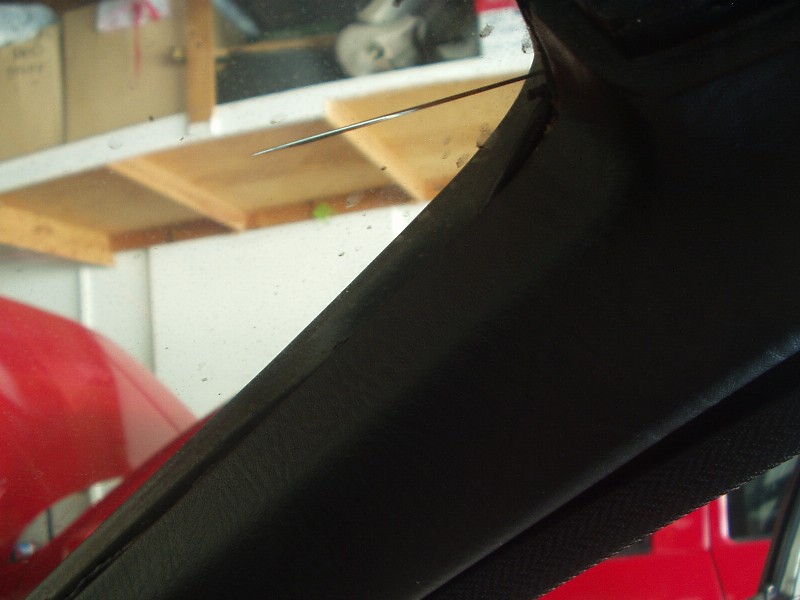
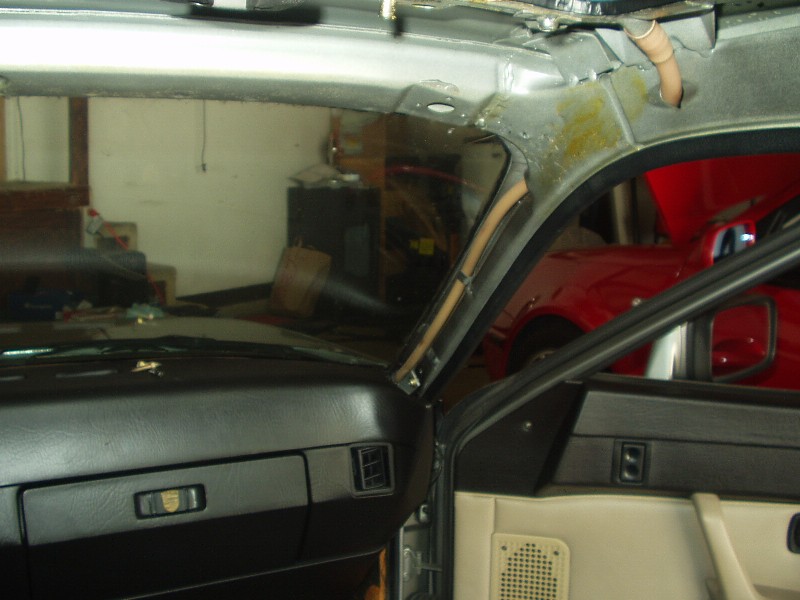
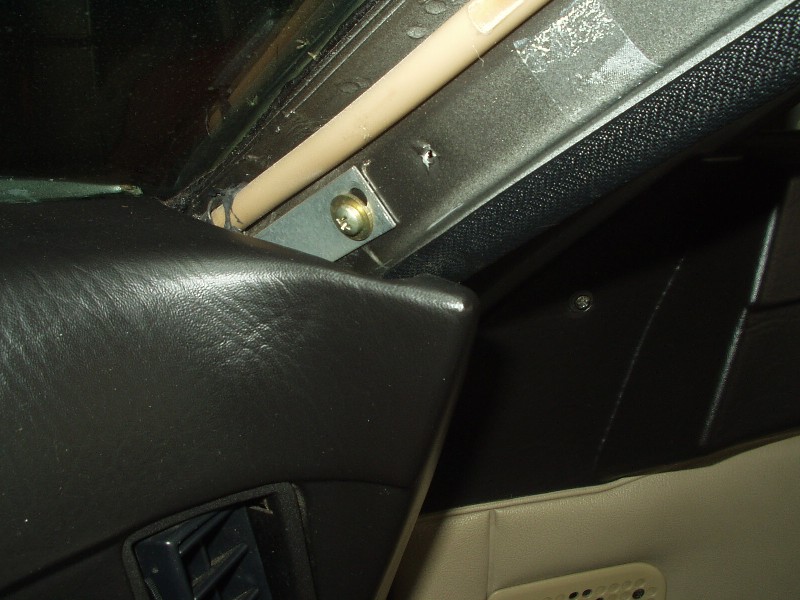
It was nice to see a shorn, relatively clean surface under a panel for once during this project. The A-pillar covers were next. Three screws are easily visible, but ONE DAMN SCREW is hidden underneath the vinyl. I didn't realize that screw was there, so while trying to pry the cover off I actually cracked my windshield. I know now the best way to remove the covers are to dislodge the end that touches the dash, then bend the other end out a bit so you can turn the entire cover counter-clockwise to unscrew the remaining screw. If you need to reuse the piece for whatever reason, try prying back the vinyl to just unscrew the hidden screw.
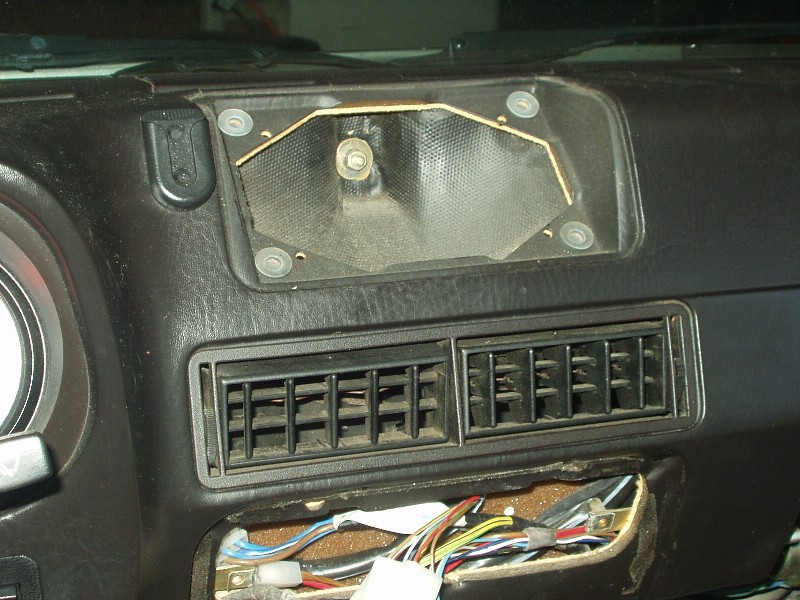
Now that those troublesome bastards are gone you can get to the top two dash retaining screws, one on each side. Below the dash are two similar mounts, but the lower kick panel and glove box cover are removed first. Removal of those are very straight forward. Under the center speaker cover is a nut securing the center of the dash. In the center, under the dash, there are one or two other mounting brackets I believe.
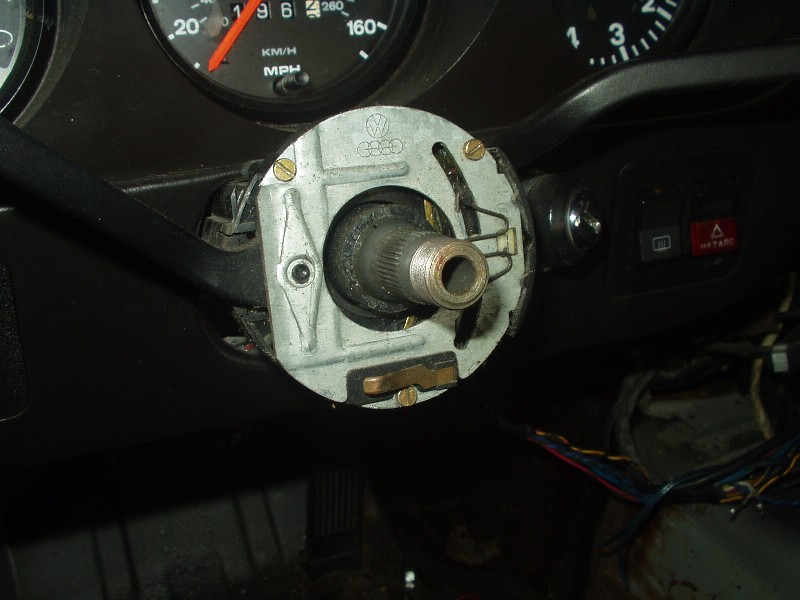
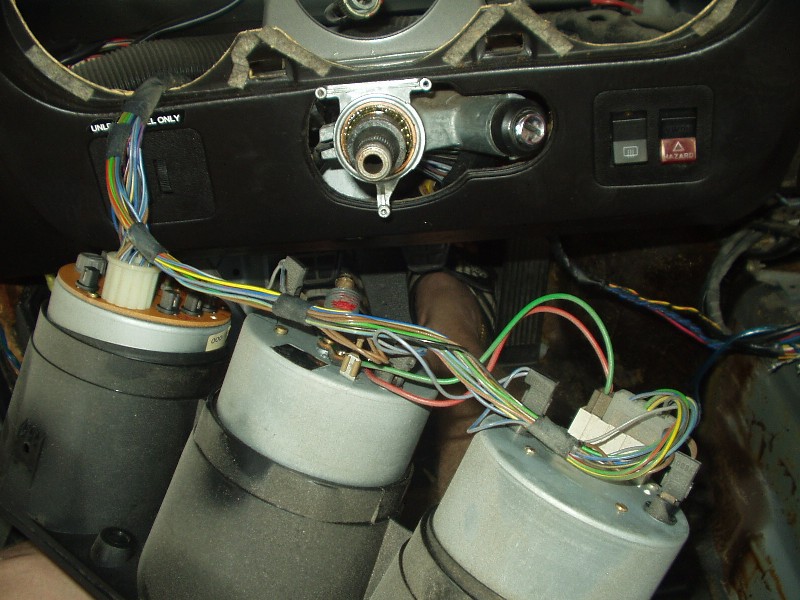
I noticed while removing these screws that something just didn't feel right. It's funny how quickly you can overlook the steering wheel and the fact that it's always in the damn way! A quick pull on the horn button will expose the 24mm (or 15/16") nut. I used an extension and a huge breaker bar to loosen the nut; removing the key and locking the wheel helped tremendously. With the nut removed, I pulled the wheel gently straight off the splines and thankfully, it came right off. This exposed the turn signal/wiper arm assembly. I removed the three brass screws, pulled the wires from the under the dash to give me some slack and disconnected the connectors. I found carefully prying with a small flat-head screwdriver worked well. With that bit out of the way, the plastic surrounding the ignition can be removed; two tiny screws on the bottom release the pieces. Okay, so now that I made a pile of extremely important parts, I thought I would move on to the dash.
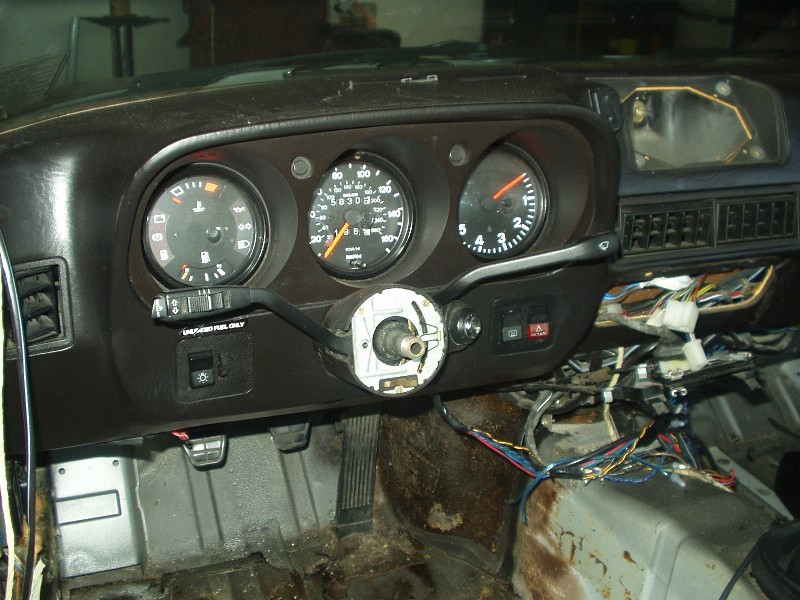
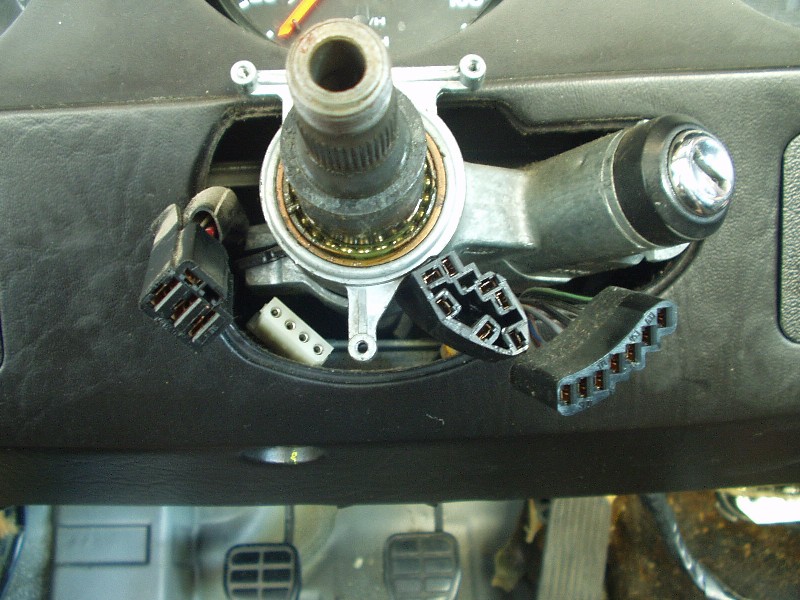
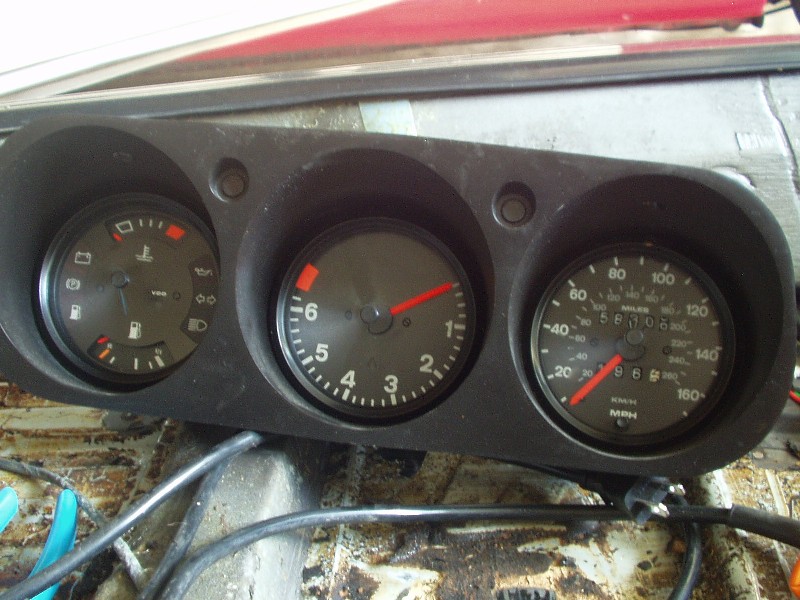
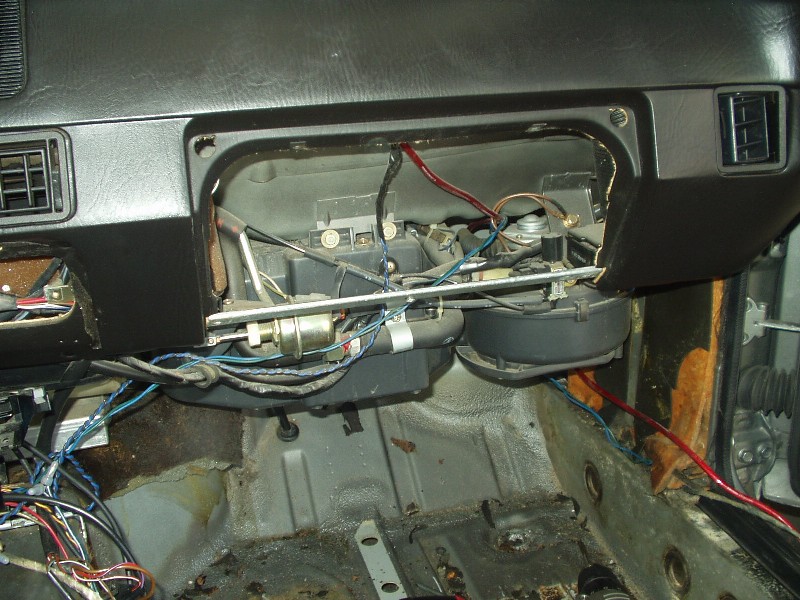
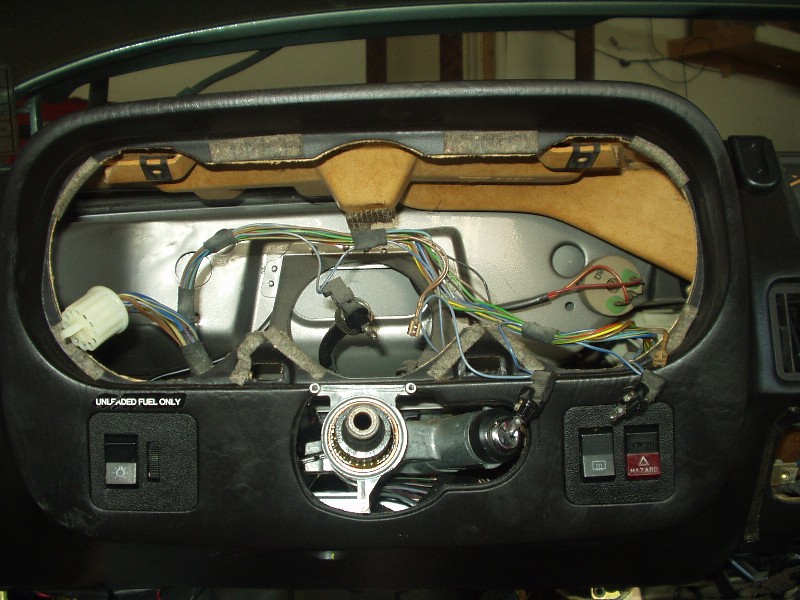
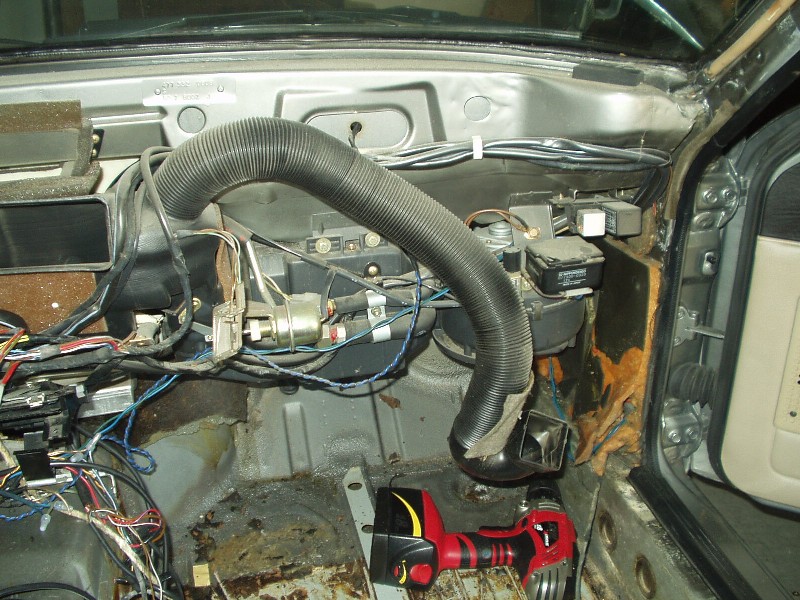
Before the dash can be removed however, two things must happen. Ask me how I know. The gauge cluster must be removed (D'oh!). Two screws on the top of the cluster are removed and it pulls right out, but only as far as the speedo cable will allow. Is was enough room to get my hand back there though and unscrew the cable from the speedo. The cluster easily pulled all the way out, to uncover the dustiest damn part I've even seen on a car. With that removed, the dash is ready to come out. But wait! What about the second "thing"!? I kicked myself for this one. BOTH doors must be open enough for the dash to clear the door panels. I had one door open and struggled for a good minute before I realized it was operator error. Lets hope the engine freshening goes smoother!
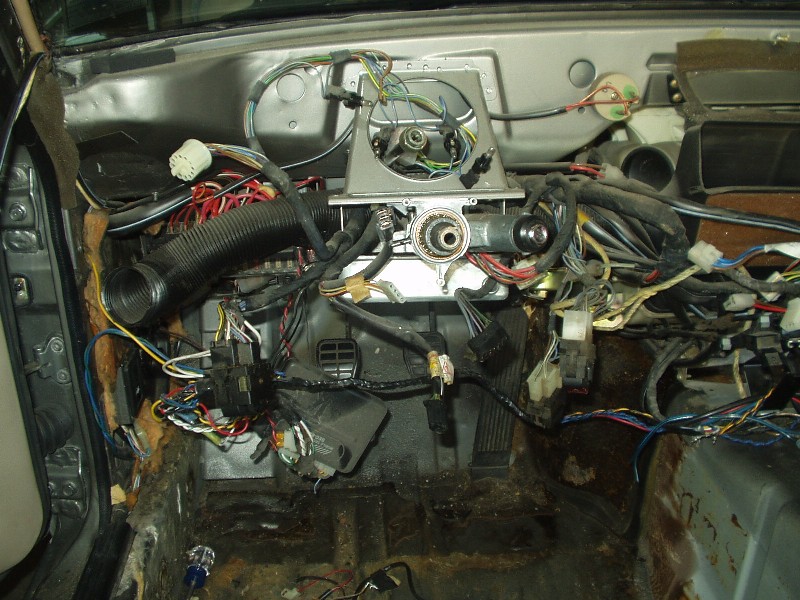
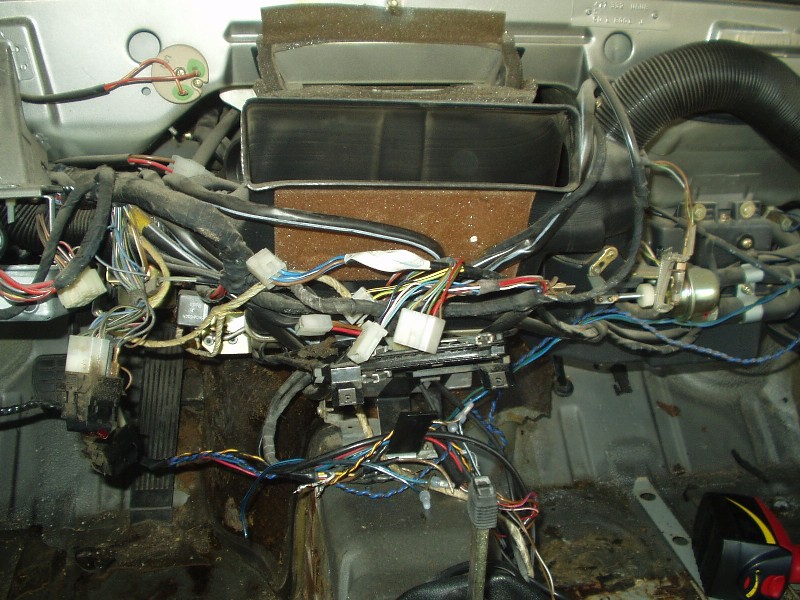
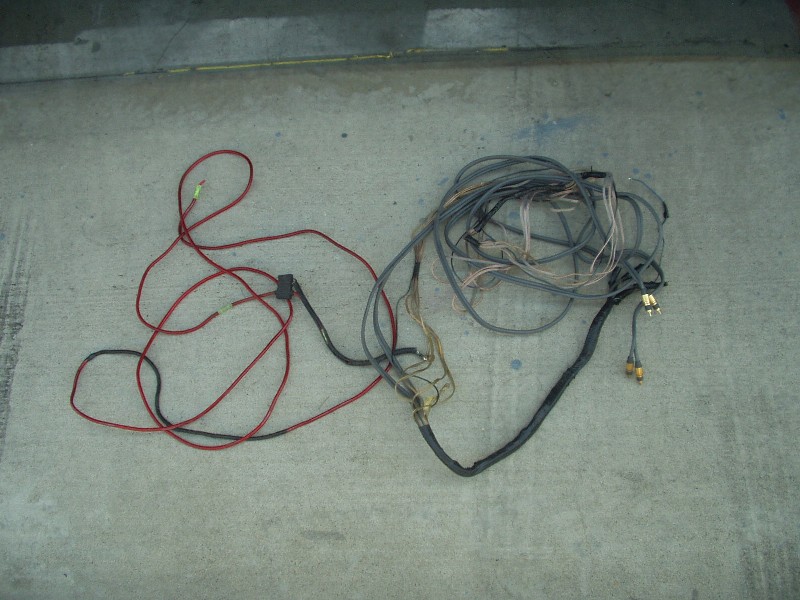
With the dash removed, I spied a host of things I can't wait to remove: AC components, heater core, misc wiring, and of course, the horribly installed Alpine alarm. Did I mention I was happy to finally remove those stereo wires?
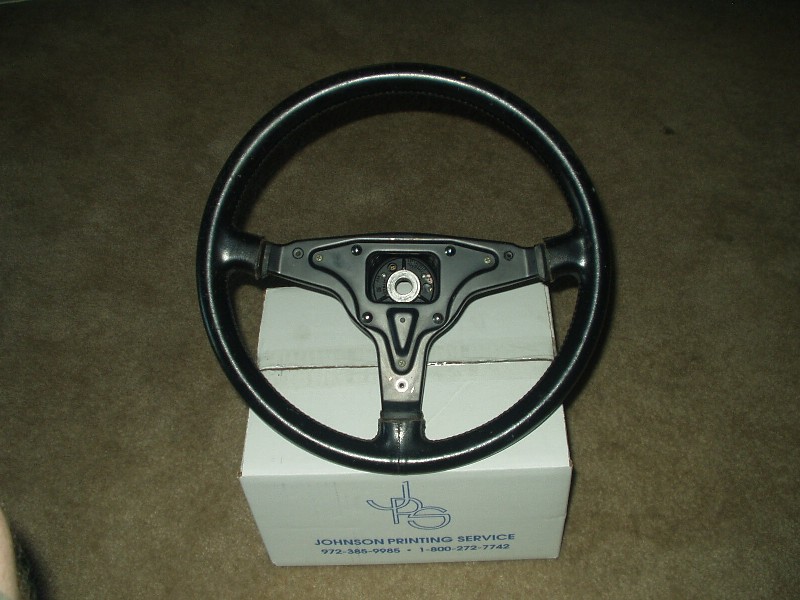
I've never been a fan of the early steering wheels. With a little love and a few speed holes, it's actually not that bad now. I'm going quick-release hub and suede Sparco(ish) wheel down the line, but this will do for now.

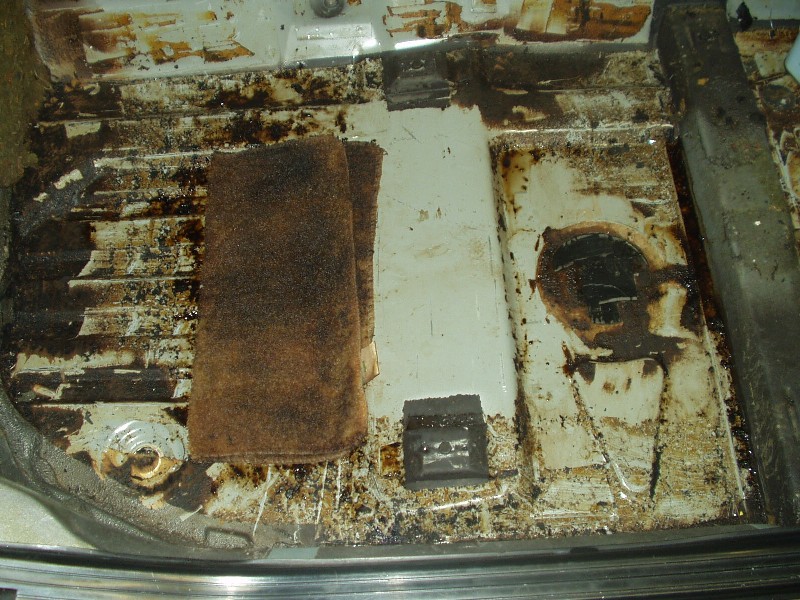
I mentioned sunroof retaining brackets in Installment 2, but I haven't gotten around to that yet. I was too busy playing with Xylene. This stuff works like gang busters on the left over adhesive from the sound deadening. Installment 4 will cover more on this and (cross your fingers) how to remove the spongy, hard to scrape off crap that seems to be everywhere.